
EPABX Programming
Table of Contents
History of the Intercom System
Real-Life Examples of Intercom Systems
Types of Intercom Systems
Benefits of an Intercom System in Organizations, Schools, Colleges, and Hospitals
Deployment Locations of an Intercom System
What is EPABX Programming?
Why is EPABX Programming Needed?
What Does EPABX Programming Include?
How is EPABX Programming Performed?
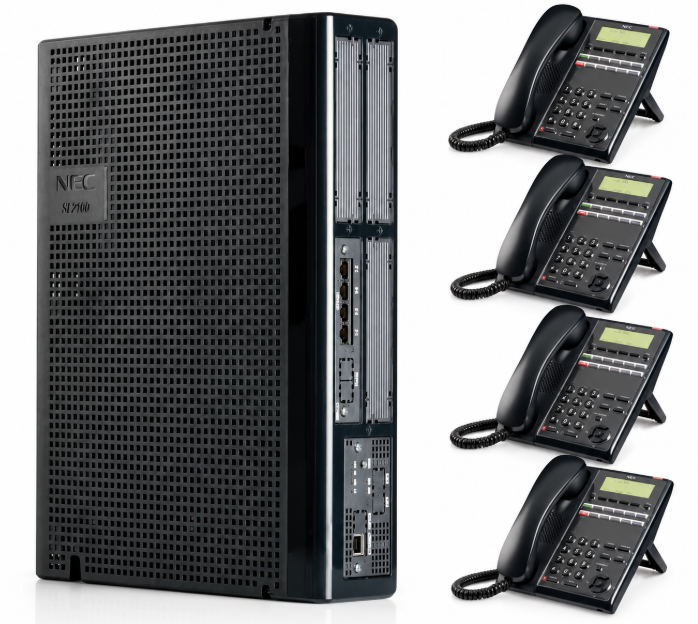
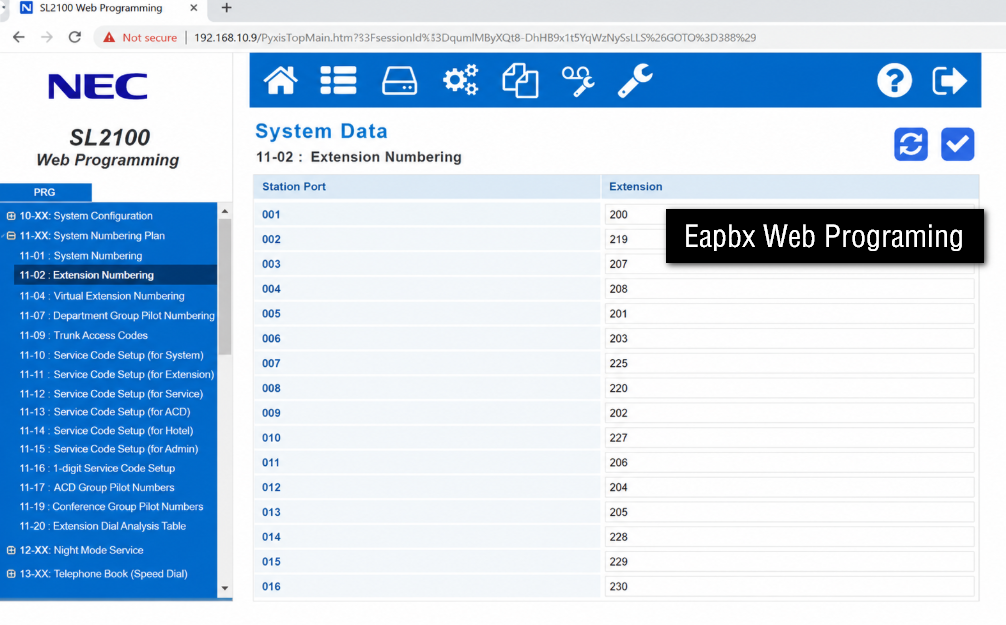
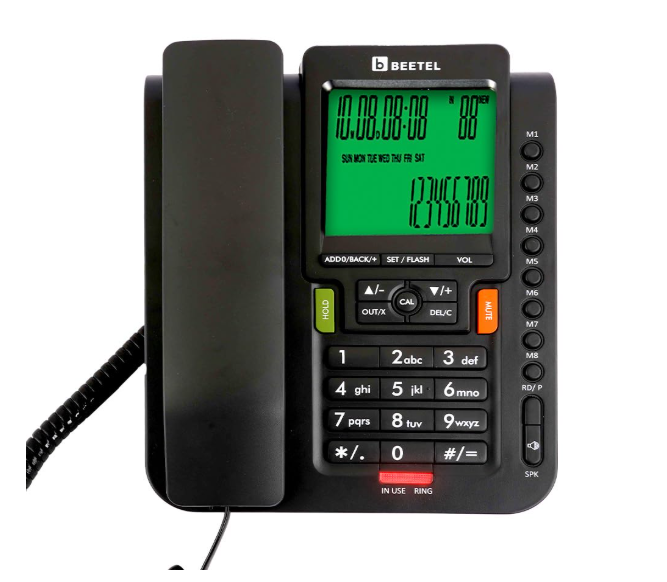
Skills Required for EPABX Programming
Common EPABX Programming Used in 90% of Offices
What is Extension Programming?
What is Trunk Programming?
What is Incoming Call Routing Programming?
What is Outgoing Call Routing Programming?
What is COS Programming?
What is Ring Group Programming?
What is Call Forwarding?
What is Barge-In?
What is Call Pick-Up?
Emergency Conference Call
What is Conference Call?
What is Do Not Disturb (DND)?
What is Day Mode and Night Mode?
Disallowed Number Programming (Call Restriction Table)
#*0000 + 41 QQ ABCD#
#*0000 41 01 9876#
What is Door Phone Programming?
What is Flexible Extension Numbering?
What is Flexible Extension Numbering Programming?
Before assigning new extension numbers, the administrator can reset all previous flexible numbering by dialing:
#*0000 + 9000#
Where:
- 0000 = Programming Password
- 9 = Flexible Numbering Command
- N = Last digit of the original extension number
- ABCD = New extension number
Here, N always refers to the original MDF extension number, not the new number. Even after changing the extension number, the physical port on the PBX remains the same.
Example 1
Suppose you want to change:
- 601 → 101
Since the last digit of 601 is 1, dial:
#*0000 9 1 101#
Now, users will dial 101 instead of 601.
Example 3
Suppose you want to change:
- 608 → 2008
Dial:
#*0000 9 8 2008#
Now, Extension 608 becomes 2008.
What is Automatic Sequential Numbering?
#*0000 9000 32#
#*0000 9000 41#
What is Direct Junction Access (Hot Line to Junction)?
What is Hot Line to Extension?
#*0000 + 883 N XXXX#
#*0000 883 1 605#
#*0000 884 N#
#*0000 884 1#
What is Redial?
What is Call Waiting
What is Call Hold?
What is Call Park?
What is Call Hunt?
What is Call Toggle?
Music on Hold (MOH)
What is Make Set Busy?
Programming the PBX
#*0000
#*0000
What is Allowed Table?
Table Programing
#*0000 + 43 QQ ABCD#
#*0000 4301 9831#
Clear the Entire Allowed Table
#*0000 43#
Example:
To clear Location 01:
#*0000 4301#
Note: The Allowed Table contains 16 locations, and each location stores one allowed number prefix. Extensions assigned to Dialing Control Level (L = 0) can dial only the numbers that match the prefixes stored in this table.
Auto Attendant Programing
Auto Attendant:
Auto Attendant is a PBX feature that automatically answers incoming calls and plays a recorded voice message. It guides callers to the appropriate extension without requiring a receptionist to answer the call. This feature improves call handling and provides a professional greeting for callers.
Example:
A customer calls your office. Instead of the phone ringing at the reception, the PBX answers automatically and plays: “Welcome to ABC Company. Please dial the extension number you require.” The caller then dials 101 for Sales or 102 for Support.
Types of Auto Attendant Messages:
The PBX supports three recorded messages:
- Welcome Message (10 Seconds): Played when a caller first connects to the PBX.
- Busy Message (5 Seconds): Played when the selected extension is busy.
- No Answer Message (5 Seconds): Played when the selected extension does not answer within the specified time.
Example:
If a caller dials Extension 101 and it is busy, the PBX plays the Busy Message. If no one answers the call, the PBX plays the No Answer Message before ending or redirecting the call.
How to Enable Auto Attendant Programing:
To enable Auto Attendant for a junction, enter the following command:
#*0000 + 10 J#
Where:
- *#0000 = Programming Password
- 10 = Auto Attendant Enable Command
- J = Junction Number (1 or 2)
Example:
To enable Auto Attendant for Junction 1
#*0000 101#
Result:
Incoming calls on Junction 1 will be answered automatically by the PBX, and the Welcome Message will be played.
How to Disable Auto Attendant (Direct Ring):
To disable Auto Attendant and return the junction to Direct Ring mode:
#*0000 + 11 J
Result:
Incoming calls will ring directly on the assigned extension without playing any recorded message.
How to Record an Auto Attendant Message:
To record an Auto Attendant message, first lift the handset of a programming extension (such as 601, 602, 603, or 604). Then enter the programming password and dial the recording command:
#*0000 + 12 M#
Where:
- 0000 = Default Programming Password
- 12 = Record Message Command
- M = Message Type
- 1 = Welcome Message
- 2 = Busy Message
- 3 = No Answer Message
Example:
To record the Welcome Message, dial:
#*0000 121#
Recording Procedure:
- Lift the handset of a programming extension (601–604).
- Dial the recording command (for example,
#*0000 121#). - Wait for the first confirmation beep.
- After the beep, start speaking clearly. Your voice will be recorded.
- When you hear the second beep, the recording has finished automatically.
- Hang up the handset.
Example Message:
After the first beep, you can record a message such as:
“Welcome to ABC Company. Please dial the extension number you require.”
The PBX will play this recorded message automatically whenever a caller reaches the Auto Attendant.
Important Note:
According to the manual, the caller can dial extension numbers such as 101, 102, etc. However, the Operator Extension (for example, 101, 601, or another extension) and the Junction Landing destination are configured in a different programming section of the manual.
That section has not been provided yet. It will usually contain the Operator Assignment or Junction Landing Programming settings.
Once you share that page, I can explain the complete Auto Attendant call flow, including exactly where the call goes after the Welcome Message and how to configure each step.
Auto Call Back Programing
Auto Call Back is a PBX feature that automatically calls the user back when a busy junction line or busy extension becomes available. Instead of repeatedly dialing the same number, the user can activate Auto Call Back, and the PBX will notify the user when the line is free.
Example:
Extension 101 tries to call Extension 102, but 102 is busy. The user dials # after hearing the busy tone and hangs up. When Extension 102 becomes available, both extensions ring automatically. When both users answer within 10 seconds, the PBX connects the call.
Auto Call Back from a Busy Junction Line:
If all junction (CO) lines are busy, the user can request an automatic callback. After dialing 0, if a busy tone is heard, dial # and hang up. When any junction line becomes available, the PBX rings the extension once. The user must answer within 10 seconds to be connected to the free junction line.
Example:
Extension 101 dials 0 to make an outside call, but all junction lines are busy. The user dials # and hangs up. When a junction line becomes free, Extension 101 rings. The user answers within 10 seconds, and the PBX automatically connects the outside call.
Auto Call Back from a Busy Extension:
If the called extension is busy, the user can activate Auto Call Back by dialing # after hearing the busy tone. When the busy extension becomes available, both the calling and called extensions ring simultaneously. If both users answer within 10 seconds, the PBX automatically connects the call.
Example:
Extension 101 calls Extension 102, but 102 is busy. After hearing the busy tone, the user at 101 dials # and hangs up. When Extension 102 becomes free, both 101 and 102 ring at the same time. After both users answer, the PBX automatically connects the call.
Auto Call Disconnection Programing
Auto Call Disconnection is a PBX feature that automatically disconnects an outgoing junction (CO line) call after a predefined time limit. This feature helps control call duration and prevents users from making excessively long outgoing calls.
Example:
Extension 101 is programmed with a 10-minute call limit. When the user makes an outgoing call, the PBX automatically disconnects the call after 10 minutes. This feature applies only to outgoing junction calls and does not affect incoming calls.
Programming Procedure:
To set the automatic call disconnection time:
#*0000 + 6 NN TT#
Where:
- NN = Last two digits of the extension number.
- TT = Call duration in minutes (01–99).
Example:
To disconnect outgoing calls from Extension 101 after 10 minutes:
#*0000 60110#
Explanation:
- 6 = Auto Call Disconnection Feature
- 01 = Extension 101 (last two digits)
- 10 = Disconnect the call after 10 minutes
Result:
Every outgoing call made from Extension 101 will be automatically disconnected after 10 minutes.
Cancel Auto Call Disconnection:
To remove the time limit:
#*0000 + 6 NN 00#
Example:
To cancel the time limit for Extension 101:
#*0000 60100#
Result:
Extension 101 can make outgoing calls without any automatic disconnection.
Important Note:
- ✅ This feature applies only to outgoing junction (CO line) calls.
- ❌ It does not apply to incoming junction calls.
- Default Setting: No call time limit is applied unless it is programmed.
Barge-In Programing
Barge-In:
Barge-In is a PBX feature that allows an authorized extension to join or monitor an ongoing call. In this PBX, only Extension 601 and Extension 602 are authorized to use this feature. They can listen to or join a conversation between an extension and a junction (CO line) or between two extensions.
Example:
A customer is talking to Extension 101 on Junction 1. The manager at Extension 601 wants to monitor or assist with the conversation. Using the Barge-In feature, Extension 601 can join the call and listen or speak in the conference.
Barge-In to a Junction Line:
To listen to an active Junction (CO) Line, dial:
#7J
Where:
- #7 = Barge-In command.
- J = Junction Number.
- 1 = Junction 1
- 2 = Junction 2
Example:
To monitor Junction 1:
#71
Result:
Extension 601 or 602 will be connected to the active call on Junction 1. The user can listen to the conversation and, depending on the PBX configuration, may also speak in the conference.
Barge-In to an Extension:
Command:
#77 Extension Number
Where:
- #77 = Barge-In command for an extension.
- Extension Number = The extension that is currently on a call.
Example:
To monitor Extension 101:
#77101
Result:
Extension 601 or 602 will join the ongoing call of Extension 101 and can listen to or participate in the conversation.
Real Example:
Suppose:
- Extension 101 is talking to a customer on Junction 1.
- The manager is using Extension 601.
The manager dials:
#71
The PBX connects Extension 601 to the active call on Junction 1.
Or, if the manager wants to monitor Extension 101 directly, they dial:
#77101
The PBX connects Extension 601 to the ongoing conversation of Extension 101.
Important Note:
- Only Extensions 601 and 602 are authorized to use the Barge-In feature.
- J always represents the Junction Number (1 or 2).
- This feature is typically used by supervisors, managers, or administrators to monitor calls, provide assistance, or join an active conversation.